
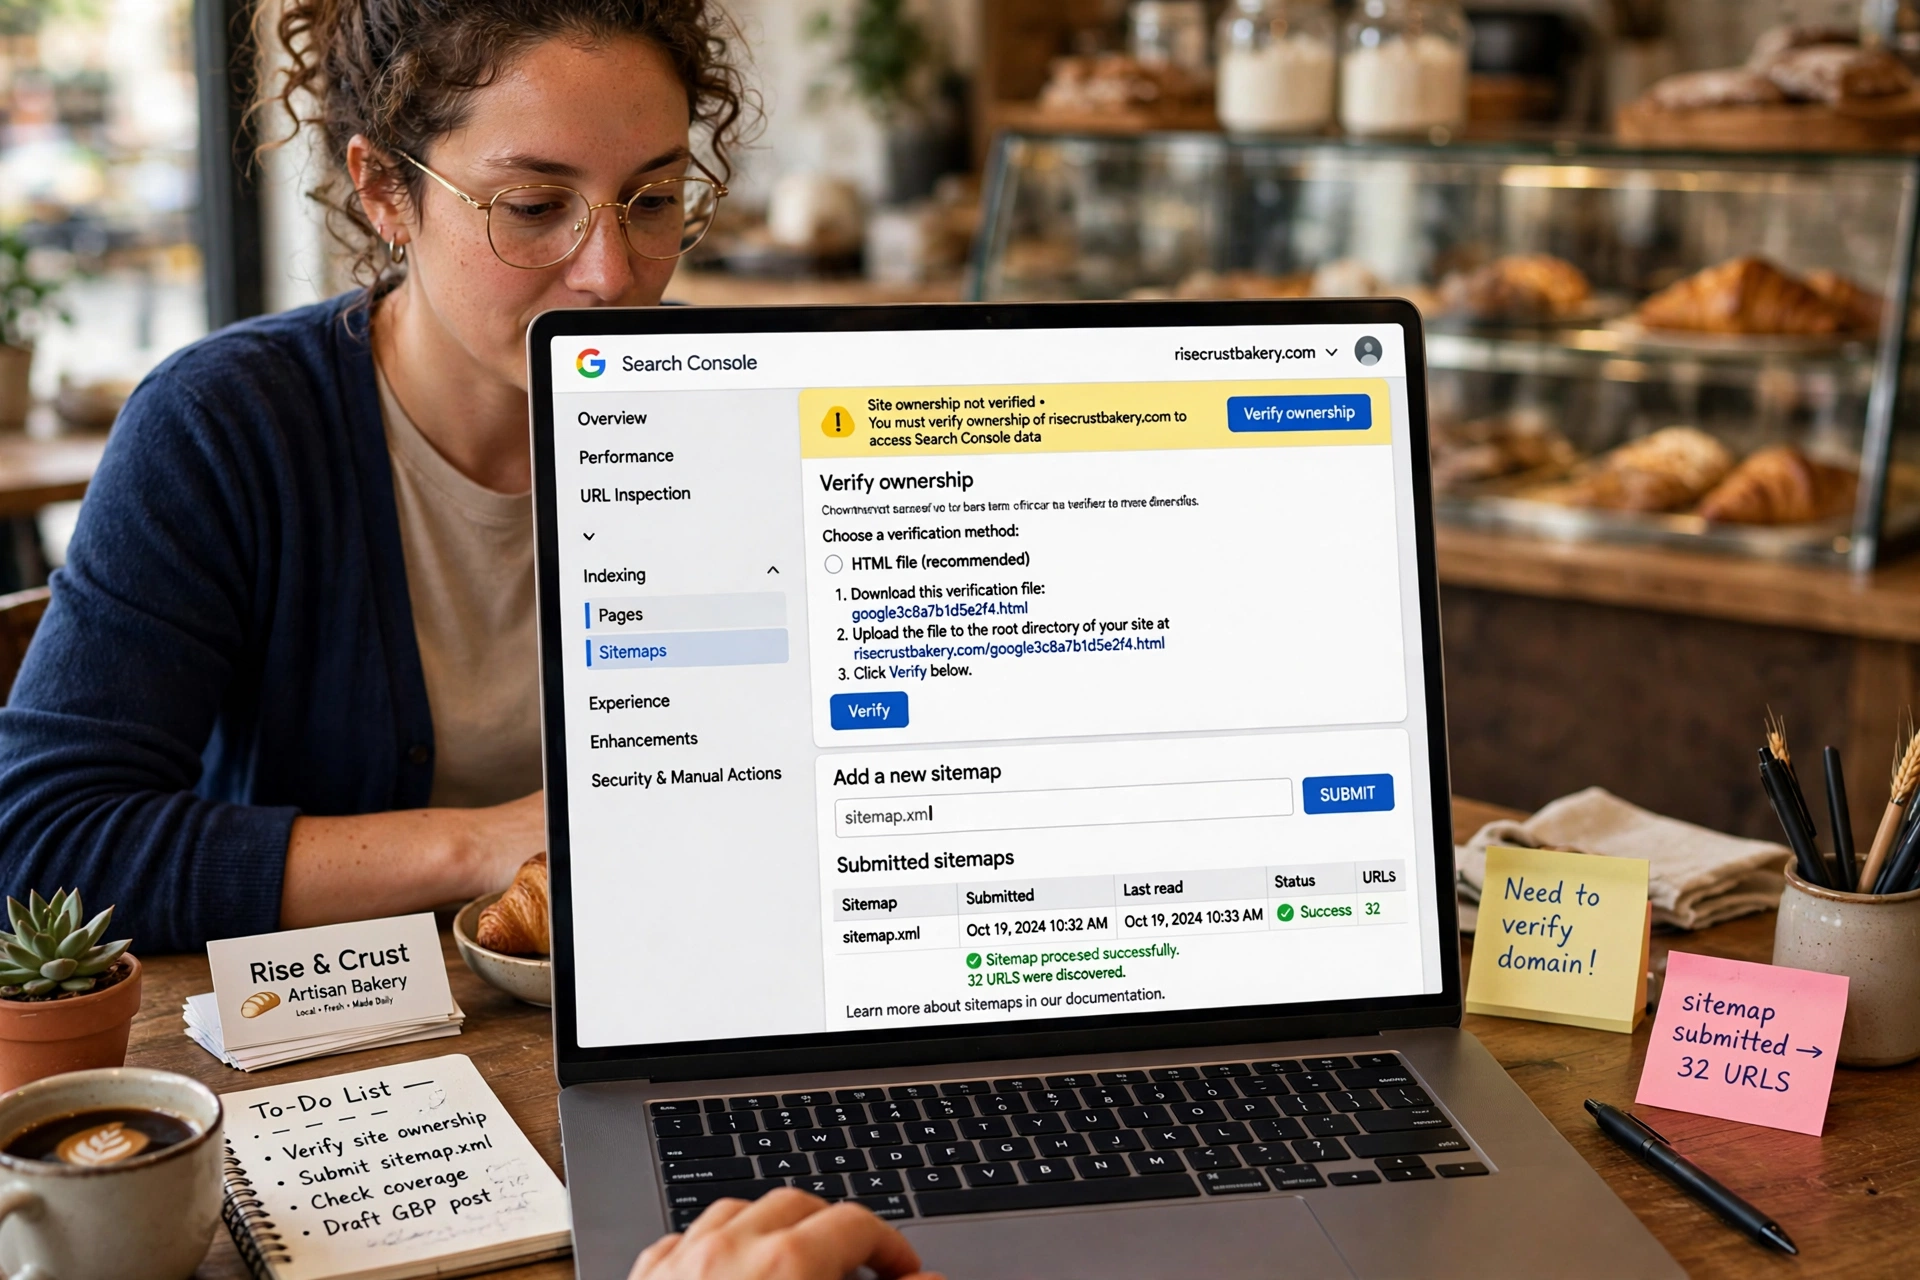
Most small business owners have never opened Google Search Console, even though it is free, made by Google, and shows exactly how Google sees their website. The reason is simple: setting it up sounds technical, and nobody wants to break their site by pasting code in the wrong place. So the tool sits unused, and the owner keeps guessing whether Google can even find their pages.
The setup is far simpler than it sounds. It has four parts: add the site, verify ownership, submit your sitemap, and request indexing for your most important pages, per nayandhumal.com. The whole job takes about ten minutes, needs no coding, and you can do it with a Google account and access to your WordPress dashboard. This guide walks through each part, one small step at a time, so a complete beginner can finish it in a single sitting.
Direct answer
Set up Google Search Console by signing in with a Google account, adding your site as a URL prefix property, verifying ownership with an HTML tag pasted into Yoast SEO, submitting your sitemap, and requesting indexing for your most important pages. The job takes about ten minutes, needs no coding, and your first data appears within a few days.
What is Google Search Console?
Google Search Console is the free tool that shows you how Google sees your blog: which searches bring people to it, which pages are in Google’s index, and what is quietly going wrong, per nayandhumal.com. It is a free service from Google that helps you monitor and maintain your website’s presence in Google Search results, per wpbeginner.com. Search Console is 100 percent free to use, no matter how large your website grows, per wpbeginner.com.
In plain terms, it answers three questions. Can Google find my site? Which searches show my pages? Which pages has Google stored, and which has it left out? Those are the questions that come before everything else in SEO, because a page Google has never stored cannot bring in a single visitor, no matter how good it is.
It is not the same tool as Google Analytics. Search Console shows what happens before the click: which searches your pages appeared in, how often they were shown, and how often they were clicked. Google Analytics shows what visitors do after they arrive. You need both in time, but Search Console comes first, because it tells you whether people are finding you at all. If you only learn one SEO tool, learn this one.
Search Console also warns you when something is wrong. If a page disappears from the index, if a page has an error, or if Google cannot read your site on a phone, Search Console is where the warning appears. Checking it once a month is the cheapest insurance a small site has. But none of that is possible until the setup is done, and that is what the rest of this guide covers.
What do you need before you start?
You need four things, and you probably have three of them already. First, a Google account. Your normal Gmail login works. Second, a website that is live. If you are still building yours, finish that first, because Search Console needs a real address to check. Third, access to your WordPress dashboard, so you can paste one line into your SEO plugin, per nayandhumal.com. Fourth, about ten minutes, per nayandhumal.com.
You can typically set up Google Search Console in just a few minutes, although the trickiest part for most beginners is proving to Google that you own your website, per wpbeginner.com. That step, called verification, is where most people get stuck, and it is where this guide spends the most time. Everything else is straightforward.
One warning before you start: do not install a new plugin just for this job. If you already use Yoast SEO, it has the field you need built in. Google’s own Site Kit plugin can also connect and verify Search Console for you when you sign in with the same Google account, per nayandhumal.com, but if Yoast is already on your site, use Yoast and keep your plugin list short.
Step 1: How do you open Search Console and add your site?
Go to search.google.com/search-console and sign in with your Google account. If this is your first time, you will see a welcome screen asking you to add a property, per nayandhumal.com. A property is simply a website, or part of a website, that you want Search Console to watch. If you have used Search Console before, click the property menu in the top left corner and choose Add property, per nayandhumal.com.
Adding your site is called adding a property, and there are two kinds to choose from. Google will show you two boxes: Domain on the left and URL prefix on the right, per nayandhumal.com. Your choice here decides how you will verify the site, so read the next section before you click anything. Most beginners should choose URL prefix, for reasons explained below.
Type your address exactly as it appears in the browser, including https://, per nayandhumal.com. This matters more than it looks. Google treats http and https as different protocols, and it treats www.example.com and example.com as different sites, per wpbeginner.com. If your site loads as https://yoursite.co.uk/, type exactly that, with the https and without the www, unless your site actually uses www. If you are unsure about that address, log in to your WordPress admin area and go to Settings, then General, where your address appears in the Site Address field, per wpbeginner.com.
Click Continue, and Google will ask you to verify that you own the site. That is step 3, and it is the part that needs care.
Step 2: Which property type should you choose?
The two property types do different jobs, and the table below shows the difference in plain terms.
| Property type | What it covers | Who should choose it |
|---|---|---|
| Domain property | Your whole domain, including every subdomain, on http and https | Sites with subdomains, or owners happy to edit DNS records |
| URL prefix property | Only the exact address you enter, such as https://yoursite.co.uk/ | Most beginners, because it is the easiest way to verify with an SEO plugin |
A Domain property covers your whole domain, including www and non-www versions, and http and https, but it requires verifying through your domain’s DNS settings, per fernandoraymond.blog. That means logging in to your hosting or domain provider and adding a text record to your DNS settings. It is not hard, but it is an extra step, and if the words DNS record make you nervous, choose URL prefix and type your full address exactly as it appears in the browser, including https://, per nayandhumal.com.
A URL-prefix property covers just the exact URL you type in, and for a first-time WordPress blogger, the URL-prefix option is usually the easier starting point, per fernandoraymond.blog. For this guide, we recommend the URL prefix method, because it is the easiest way to verify your site using an SEO plugin, per wpbeginner.com. It gives you more beginner friendly ways to prove you own the site, and the HTML tag method below takes about two minutes.
There is one honest trade off. A URL prefix property only watches the exact address you entered. If your site also loads with www, or on http, those versions are not covered. For most small business sites, that does not matter, because the site loads on one address only, and that is the address you entered. If your site later grows subdomains, such as a shop on shop.yoursite.co.uk, you can add a Domain property then. Start with the simple option now, and add the wider one later if you need it.
Step 3: How do you verify that you own the site?
Google needs proof that you are really the site owner before it shows you any data, per fernandoraymond.blog. To add Google Search Console to WordPress, add your site as a property, then verify ownership with an HTML file, HTML tag, DNS record, Google Analytics, or Google Tag Manager, per analytify.io. The table below lists the five methods, and the rest of this section explains the easiest one in full.
| Verification method | What you do | Best for |
|---|---|---|
| HTML tag | Paste a short code into your SEO plugin | Most WordPress beginners, the easiest method |
| DNS record | Add a text record to your domain settings | Owners who chose a Domain property |
| HTML file | Upload a file to your site’s root folder | Owners with FTP or File Manager access |
| Google Analytics | Confirm through your Analytics account | Sites already running Google Analytics |
| Google Tag Manager | Confirm through your Tag Manager account | Sites already running Tag Manager |
| Site Kit plugin | Sign in with Google and let the plugin do it | Owners who want a guided setup with no code |
For most WordPress blogs, the easiest way to verify is to paste one HTML tag into your SEO plugin, per nayandhumal.com. Here is how it works with Yoast SEO, step by step.
First, in the verification window in Search Console, open HTML tag and copy the line of code Google gives you, per nayandhumal.com. The line looks like a short piece of HTML with a long code inside it. You only need the long code itself, not the whole line. Copy the code between the quotation marks, and keep the Search Console tab open.
Second, open your WordPress dashboard in a new tab. Go to Yoast SEO, then General, then the Webmaster Tools tab. You will see a box labelled Google verification code. Paste the code you copied into that box, and save your changes. Do not paste the whole HTML line. Yoast only wants the code itself, and it will build the tag for you.
Third, go back to the Search Console tab and click Verify. Google will look for the code on your site, and if it finds it, you will see a message saying ownership is verified. The whole step usually takes a minute or two. If it works first time, you are done with the hardest part of the setup.
If you chose a Domain property instead, the HTML tag method will not be offered. You will need the DNS record method. Log in to your hosting or domain provider, open the DNS settings for your domain, and add the text record Google gives you. Then return to Search Console and click Verify. DNS changes can take a few minutes to appear, so if verification fails at first, wait ten minutes and try again.
The HTML file method works differently. Google gives you a small file to download. You upload it to the root folder of your site, which is the folder that holds your WordPress files, using FTP or your hosting File Manager. Then you click Verify. It works well, but it needs file access, which is why the HTML tag method is easier for most beginners.
Google’s own Site Kit plugin for WordPress can connect and verify Search Console for you when you sign in with the same Google account, per nayandhumal.com. If you would rather not copy code at all, install Site Kit, sign in with your Google account, and follow its guided setup. It will add the site, verify it, and connect it in one flow. The trade off is one more plugin on your site. If Yoast is already installed, use Yoast and skip Site Kit.
If verification fails, do not panic, and do not paste the code again in a different place. The most common cause is a cache. If Google Search Console cannot verify your site after you add the code, then clear your WordPress cache and try again, per wpbeginner.com. If you use a caching plugin, purge the cache, wait a minute, and click Verify again. The second most common cause is pasting the whole HTML line instead of just the code. Check the Yoast box, and if it holds the full line with the angle brackets, replace it with the code alone and try again.
Step 4: How do you submit your sitemap?
A sitemap is a list of your pages that tells Google where to find them. A sitemap helps Google discover all your important pages, per helpzone.blog. Without one, Google can still find your pages by following links, but it will take longer, and it may miss pages that have few links pointing to them.
Most SEO plugins create a sitemap automatically, per helpzone.blog. If you use Yoast SEO, your sitemap already exists. Its address is yourdomain.com/sitemap_index.xml, per helpzone.blog, or yourblog.com/sitemap_index.xml if you use an SEO plugin such as Rank Math or Yoast SEO, per nayandhumal.com. Replace yourdomain.com with your own address. You can check it by typing the full address into your browser: if you see a page listing your posts and pages, the sitemap is there.
To submit it, go back to Search Console. In the left hand menu, click Indexing, then Sitemaps. You will see a box asking for the sitemap address. You do not need the full address. Type sitemap_index.xml on its own, and click Submit. Google will read the sitemap and start working through the pages on it.
Submitting a sitemap does not mean Google will index every page on it. It means Google knows the pages exist and will visit them. Some pages may be left out, for reasons the Page indexing report will show later. That is normal, and it is covered in the measurement guide linked at the end of this article. The sitemap is the invitation, not a guarantee.
If your site has no SEO plugin and therefore no sitemap, install one first, or ask your developer to add one. A site with no sitemap can still be indexed, but it will take longer, and new pages will be found more slowly. For a small business site, the sitemap is worth having from day one.
Step 5: How do you request indexing for your first pages?
After verification and the sitemap, ask Google to look at your most important pages. Open the URL Inspection tool at the top of Search Console, enter the address of a page, and click Request indexing. Google will put the page in its crawl queue. That is the same tool described in the measurement guide, which explains how to check a single page, when it was last crawled, and whether there are any errors on it.
Request indexing for your homepage first, then your main service pages, then your best guides. Do not request indexing for every page on the site in one sitting. A small site has few important pages, and those are the ones worth asking about. Tag pages, author pages and old thin pages can wait, or be left out entirely.
Use this button sparingly, once per page after a real change, not every day. Requesting indexing does not guarantee the page will rank, and it does not speed up ranking. It only asks Google to look at the page again. If you request indexing for a page that has not changed, nothing will happen, and repeated requests will not help. The tool is for new pages and for pages you have genuinely improved.
What should you expect in the first few days?
Expect very little data at first, and do not treat that as a problem. Expect your first data within a few days, and a brand-new blog often shows very small numbers for the first few weeks, and that is normal, per nayandhumal.com. New sites can take anywhere from a few days to a few weeks to show meaningful data in Search Console, even after verification and indexing requests, per fernandoraymond.blog.
The first numbers you see will be small. A new site might show a handful of impressions and no clicks at all. That is how every site starts. Google has only just met your pages, and it is still deciding which searches they fit. The numbers grow as Google crawls more of your site, as your pages start to appear for more searches, and as a few of them earn clicks. That process takes weeks, not hours.
Do not check Search Console every day in the first month. Daily checking shows noise: a good day, a bad day, a holiday, a change in the weather. It also shows data that is still catching up, because Search Console takes a few days to report anything recent. Check once a week at first, then once a month once the site is running. Monthly checking shows trends, and trends are what you need to judge.
If nothing appears after two weeks, check the basics before assuming something is broken. Is the site still verified? Is the sitemap still submitted? Does the Page indexing report show any pages at all? If the answers are yes, the site is working and the data is simply slow. If the answers are no, work through the common problems in the section below.
Which two reports should you read first?
Two reports matter most at the start: Performance and Page indexing, per nayandhumal.com. The Performance report shows clicks, impressions, click through rate and average position, and the Queries tab inside it shows the actual searches people typed. The Page indexing report shows which of your pages Google has stored and which it has left out, with a reason for each one.
This guide does not explain those reports in detail, because each one has a guide of its own on this site. To learn what the four numbers mean and how to read them together, read our guide on how to measure SEO results in Google Search Console. To learn how to turn the Queries tab into a list of keyword opportunities, read our guide on how to use Google Search Console to find keyword opportunities. Together, those two guides cover everything the reports can tell you. This guide only gets you to the point where you can open them.
The honest order is this: set the tool up first, let it collect data for a month, then read the measurement guide. Reading the measurement guide before you have any data is like reading a map of a town you have never visited. The setup comes first, the reading comes second, and the work comes third.
What are the common setup problems and how do you fix them?
Most setup problems fall into a few groups, and the table below lists them with the fix for each one.
| Problem | What is usually wrong | Fix |
|---|---|---|
| Verification fails | The code was pasted wrong, or the cache is stale | Paste only the code, not the whole HTML line, then clear your WordPress cache and try again |
| Wrong property type | The address does not match how the site loads | Check Settings, then General, in WordPress, and add the property with the exact address shown there |
| No data after two weeks | The sitemap was never submitted, or the site is new | Submit sitemap_index.xml under Indexing, then Sitemaps, and wait a few more days |
| Sitemap not found | The SEO plugin is off, or the address is wrong | Check the sitemap address in your browser, and confirm the SEO plugin is active |
| Ownership lost | The code was removed by a theme or plugin change | Re-add the code in Yoast SEO and verify again |
Verification fails are the most common problem, and they are almost always one of two causes. Either the whole HTML line was pasted into Yoast instead of just the code, or the cache served Google an old copy of the page without the code. Fix the paste first, then clear the cache, then click Verify again. Do not try a different verification method until you have tried those two fixes, because switching methods usually adds confusion rather than solving the problem.
The wrong property type is the second most common problem. It happens when the address you entered does not match how the site actually loads. If your site loads without www, and you added a property with www, Google will look for the code on the wrong address and never find it. Check the Site Address field under Settings, then General, in WordPress, and use exactly the address shown there. Google treats http and https as different protocols, and it treats www.example.com and example.com as different sites, per wpbeginner.com, so the exact address matters.
No data after two weeks is usually not a problem at all. It usually means the site is new and Google is still working through it. Check that the sitemap is submitted and that the site is still verified. If both are true, wait. New sites can take anywhere from a few days to a few weeks to show meaningful data, per fernandoraymond.blog, and there is nothing to fix.
A sitemap not found error means Google could not open the address you submitted. Open the address in your browser yourself. If you see an error page, the SEO plugin that creates the sitemap may be deactivated, or the address may be wrong. For Yoast SEO the address is yourdomain.com/sitemap_index.xml, per helpzone.blog. Check that the plugin is active, then resubmit.
Ownership lost is rare, but it happens after a theme change or a plugin update that wipes the verification code. If Search Console tells you that you are no longer verified, open Yoast SEO and check the Webmaster Tools tab. If the code is gone, paste it again and verify. Keep a note of the code somewhere safe, so you can restore it in a minute if it ever disappears.
Frequently asked questions
Is Google Search Console free?
Yes. Search Console is a free service from Google that helps you monitor and maintain your website’s presence in Google Search results, per wpbeginner.com. It is 100 percent free to use, no matter how large your website grows, per wpbeginner.com. You only need a Google account and a site you own or manage.
How long does setup take?
You can typically set up Google Search Console in just a few minutes, although the trickiest part for most beginners is proving to Google that you own your website, per wpbeginner.com. The whole job takes about ten minutes, and your first data appears within a few days, per nayandhumal.com.
Which property type should a beginner choose?
URL prefix. For a first-time WordPress blogger, the URL-prefix option is usually the easier starting point, per fernandoraymond.blog, and for this guide, we recommend the URL prefix method, because it is the easiest way to verify your site using an SEO plugin, per wpbeginner.com.
What is the easiest way to verify a WordPress site?
For most WordPress blogs, the easiest way to verify is to paste one HTML tag into your SEO plugin, per nayandhumal.com. Copy the code Google gives you, paste it into the Google verification code box in Yoast SEO, save, and click Verify in Search Console.
Why is there no data after I set it up?
Because the site is new. Expect your first data within a few days, and a brand-new blog often shows very small numbers for the first few weeks, and that is normal, per nayandhumal.com. New sites can take anywhere from a few days to a few weeks to show meaningful data, per fernandoraymond.blog.
Do I need Google Analytics too?
Not yet. Search Console shows how people find you. Google Analytics shows what visitors do after they arrive. Set up Search Console first, let it collect data for a month, then add Analytics when you are ready to study what visitors do on the site.
Conclusion
Google Search Console setup for WordPress beginners is a ten minute job with four parts: add the site, verify ownership, submit your sitemap, and request indexing for your most important pages. Choose the URL prefix property, verify with an HTML tag pasted into Yoast SEO, and submit your sitemap. Then wait. Your first data will appear within a few days, and it will be small, and that is normal. Let the tool collect data for a month, then read our guide on how to measure SEO results in Google Search Console to learn what the numbers mean, and our guide on how to use Google Search Console to find keyword opportunities to turn the Queries tab into a list of work. The setup is the easy part. The habit of checking once a month, and doing the work the reports point to, is what brings the traffic.